


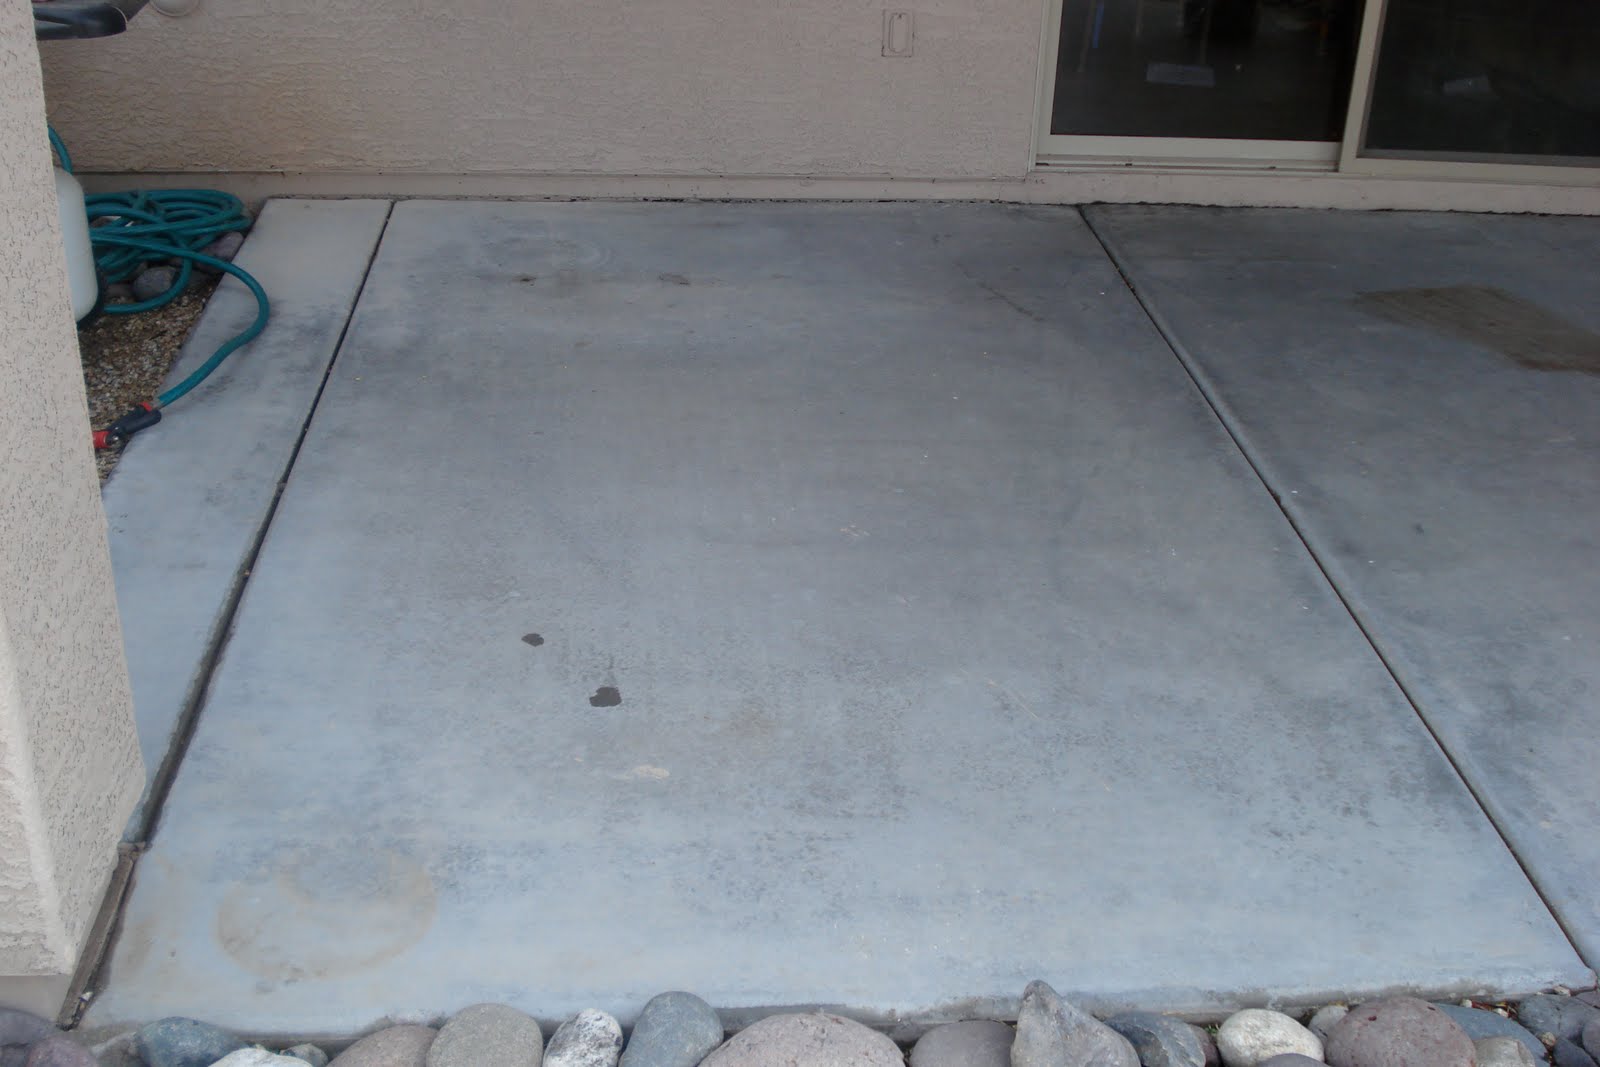
Do you have a boring, gray, concrete patio like this?
Two days and $100 ago, I did too. But now, it looks like this.


To get started, locate a concrete supply dealer who sells acid concrete stain. This is not something you can pick up at Home Depot or Lowe's. I paid $49 for 1 gallon, which easily gave me two coats on my 300 square foot patio. If you're unable to locate a dealer who sells it, you can also order it online from this company. (They even provide free shipping with orders over $40.) Stains are available in a variety of colors.
Other supplies you'll need include: a plastic bucket, 1-2 gallons of ammonia, rubber gloves, a push broom (with no metal bristles), a vapor mask, a bottle of concrete sealer, and a paint roller. I literally paid a total of $95 for all these supplies, including the stain, to do my entire 300 square foot patio.
Of course, different stains vary, so you'll need to follow the manufacturer's instructions. But here are the basics. Start with a clean patio. Professionals will tell you that you need to power wash your patio first. I used a water hose to remove all debris and dirt, and I was very happy with my results. Then, apply the stain. Again, follow the bottle's directions. Remember, you are working with acid. So, keep the kiddos and pets away. Also, when diluting, remember Chemistry 101. Always add acid to water, never vice versa.
Next, working in small sections, pour a liberal amount of the diluted stain on the concrete and work it into the concrete with the push broom using circular motions. The idea here is to prevent the stain from puddling by keeping it moving while the concrete absorbs it, which it eventually will. I'm not gonna lie--my back and arms hurt for a few days but it's definitely worth it. You'll need to let the stain set, usually for about 4 hours. The color will continue to develop during that time. If you want it to be darker, apply a second coat. I chose to apply two coats because I was going for a very dark look. If you're happy with the results at that point, it's time to neutralize the acid. You'll want to dilute the ammonia: 8 parts water, 1 part ammonia in a bucket and dump it across the concrete. Use your broom (which you rinsed, of course) to make sure the ammonia solution gets on every bit of the acid. Then, hose it off. When it dries, you'll notice the effect of the stain, but it will be very dull and matte until you seal it. This entire process literally only took me about two hours. Here are photos taken during the application process.


This was literally one of the most dramatic changes I could have possibly made to our backyard for a measly $100 and four hours of work. Make this your next weekend project. You'll be glad you did!


Holy Crap! This looks AMAZING!!!!!! You are ridiculously cavalier about doing something this big! If we only lived closer, I would hire you to do mine... =)
ReplyDelete